
I
like sauerkraut. It could be my German genes but I just like it, I
wanted to make homemade kraut but have been intimidated by the list
of requirements - mainly the crock. So there I was telling my Mom on the phone about my
kraut desire and she reminisced about her family eating a lot of
kraut when she was small and I asked her how Grandma did it as I
didn't remember her doing the 'crock' thing (that was the other Grandma). Grandma was apparently
sitting on the couch nearby and Mom yelled (Grandma doesn't hear
well anymore, she's 100 yrs old) and asked her how she did it –
and she said “oh I just put it in the jars and put em in the
cellar.” Mom and I thought that sounded too easy, so the next day
I got out the old 1940's Kerr canning book and sure enough there it
was, making kraut in jars! OK, but we've learned a few things about
canning since then, so I decided to double check the internet –
there it was, even found agricultural extension booklets with
instructions. Not only did I find that this is common practice but
that this is extremely healthy. I will now share with you the things
I learned that I did not know.
The basic premise behind these
traditional fermented foods is this: lacto-bacillus bacteria cultures
take over the food, producing lactic acid. This not only increases
the nutritional value of the food (often increasing
some vitamin content like B-12 and C by 300-600%!), but it also
preserves the food for months or even
years while producing a pleasantly sour taste.
In modern, industrialized food production we fear the inconsistency
of such traditional natural ferments, so we mimic that sour taste
with vinegar while killing off all bacteria using hot water bath or
high-pressure canning methods. While this gives us food that tastes
almost like the traditional good stuff (or at least it tastes sour),
it also gives us dead food devoid of the extra nutrients and healthy
beneficial probiotic cultures found in a living, naturally-fermented
food.
--Above from
foodrenegade.com
Who Knew!? I just
thought it was a good way to keep stuff through the winter (it is),
and tasted good (it does) I suspect probiotics is something Grandma
really didn't care about! So, armed with official sanctions I
decided to try it.
Apparently
fermenting does not actually require boiling sterilization of jars,
but I did anyway because of all those years of 4-H coupled with the
microbiology classes in college. (I have some issues) Armed
with clean jars, knife, large bowl, kosher/canning salt and of course cabbage
(clean, washed, outer leaves removed) I began. The ratio of
salt to cabbage is roughly one pound cabbage to a scant tablespoon or a
rounded half tablespoon of canning/kosher salt. Do not cut back on the salt, this is your
preservative here. (there are those who add a teaspoon of sugar
or caraway seeds as well - I did not as I am wanting to do the 1940's –
grandma recipe) I do not have a scale the right size for this so
I estimated the size of my small cabbage heads and used a tablespoon
of salt per head.

The beginning is
almost too simple – slice the cabbage thin saving a couple of clean
outer leaves, thin slicing is an issue for me be it noodles, cabbage
or even cheese, so mine is not the requisite 1/16 inch in the recipe
(who are these people measuring this sort of thing?) Next step
is up to you, some recipes say to put the salt and cabbage in a bowl
or pot and rub or squeeze until it starts to produce liquid, the
recipe I am following just said to layer salt and cabbage as it is
cut into a container and then mix with your hands like tossing a
salad.
 Now when it is all
mixed start filling jars, I used the wooden pusher tool that came
with my meat grinder to pack it tightly down in the jars. I filled
the jars almost to the neck. I then filled with (bottled,
filtered, well or boiled) water. Don't know what chlorine and
fluoride would add to the mix, I have well water so just ran from the
tap into the jars! Seriously! Remember the clean outer leaves I
saved – now I took these - folded them up and put in the top like a
cover then lightly screwed on the caps with
rings. Why lightly? When I called Grandma the next day to tell her
she was right (she says that happens to her once in awhile) she
said “well don't forget to put em on a tray, they'll ooze" – WHAT!
The Kerr canning book never said ooze – not once! She said they
quit oozing when the kraut is 'made' or fermentation is done (in
3-4 days) and it's ready to eat in 4 to 6 weeks. While the
process is going, if the kraut oozes out too much liquid, you can add
brine (tablespoon of salt to quart of water) to keep it
covered. At this point it can be canned like kraut from a crock
(water bath 15 minutes) but it will last a winter season (4-6
months) with no further processing if kept fairly cool. The
downside of additional processing, remember, is the loss of most of
the probiotic benefits to the heat.
Now when it is all
mixed start filling jars, I used the wooden pusher tool that came
with my meat grinder to pack it tightly down in the jars. I filled
the jars almost to the neck. I then filled with (bottled,
filtered, well or boiled) water. Don't know what chlorine and
fluoride would add to the mix, I have well water so just ran from the
tap into the jars! Seriously! Remember the clean outer leaves I
saved – now I took these - folded them up and put in the top like a
cover then lightly screwed on the caps with
rings. Why lightly? When I called Grandma the next day to tell her
she was right (she says that happens to her once in awhile) she
said “well don't forget to put em on a tray, they'll ooze" – WHAT!
The Kerr canning book never said ooze – not once! She said they
quit oozing when the kraut is 'made' or fermentation is done (in
3-4 days) and it's ready to eat in 4 to 6 weeks. While the
process is going, if the kraut oozes out too much liquid, you can add
brine (tablespoon of salt to quart of water) to keep it
covered. At this point it can be canned like kraut from a crock
(water bath 15 minutes) but it will last a winter season (4-6
months) with no further processing if kept fairly cool. The
downside of additional processing, remember, is the loss of most of
the probiotic benefits to the heat.
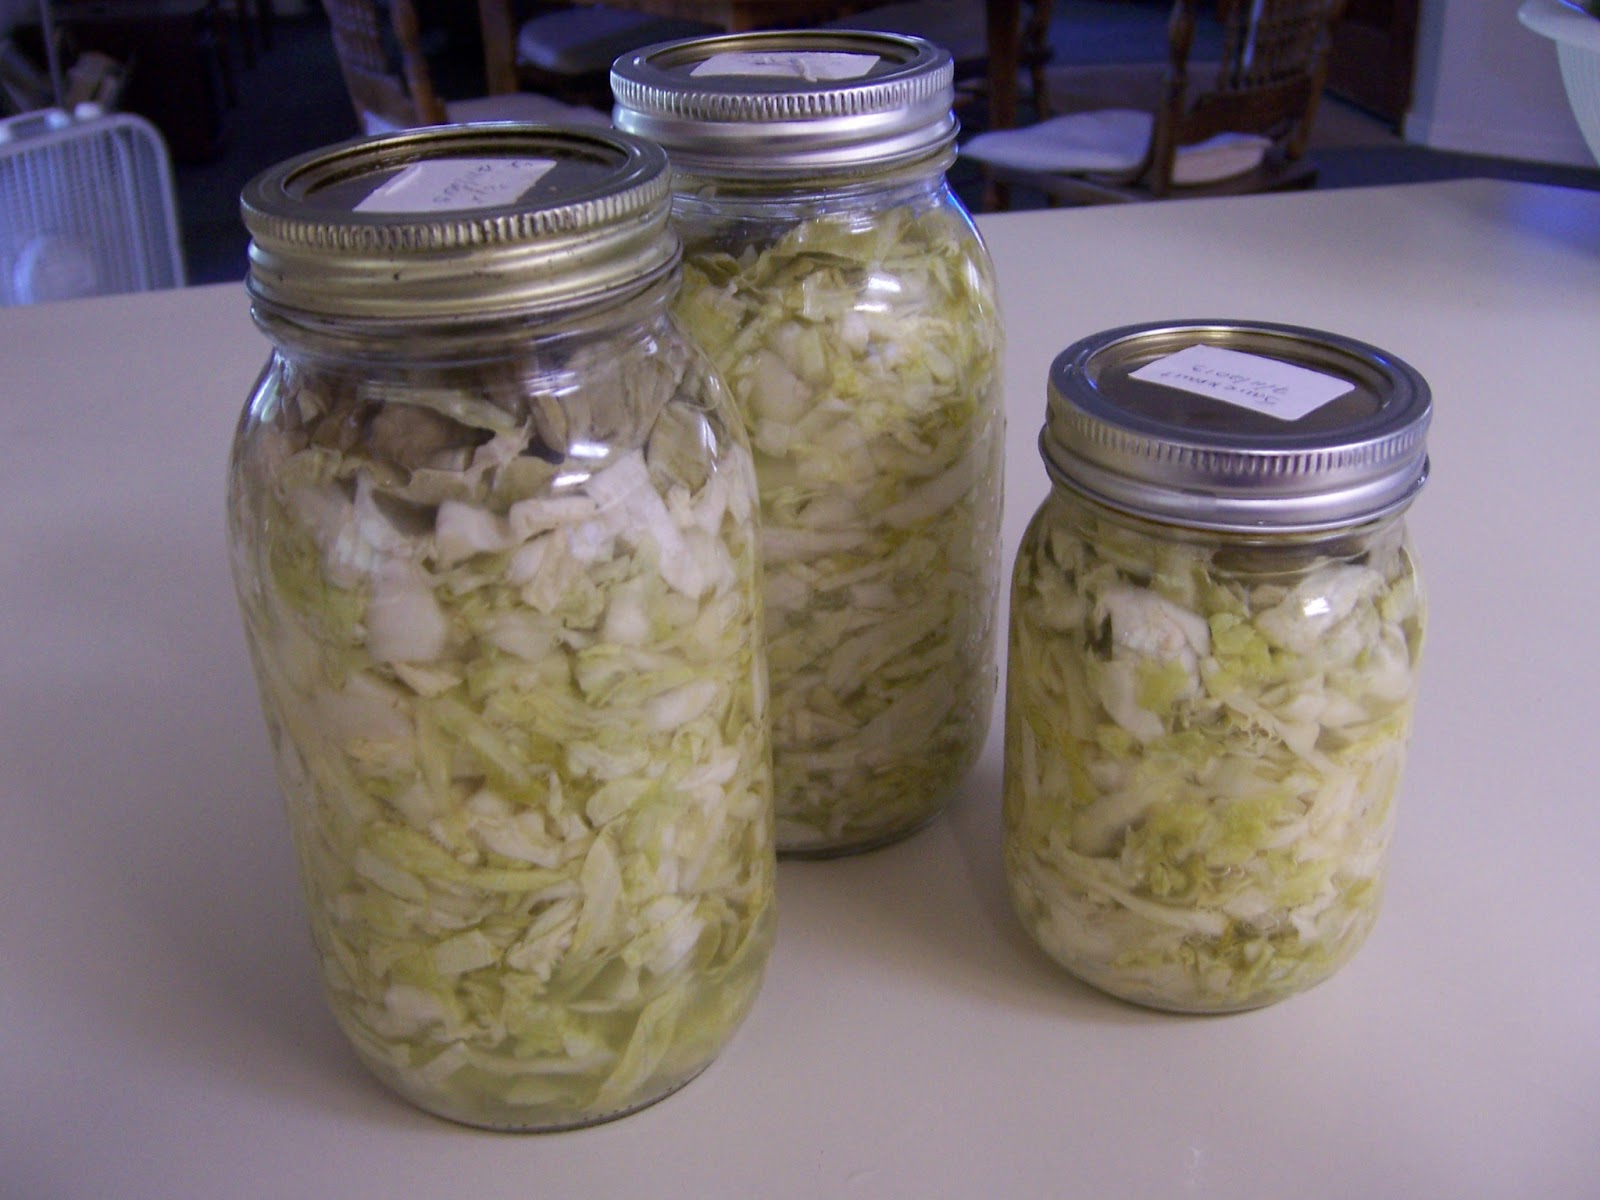
Took pictures today
of my latest 'cabbage into jars' project.
And the ones I did last week
that have finished fermentation. Note the slight change in color.
 I unscrewed the
rings on these about 3 times a day for 4 days and then they stopped oozing, so
today I rinsed the jars off, rinsed the salt brine off the rings,
tasted the kraut and then screwed down the rings fairly tightly. So
far so good. The overflow liquid smelled right and today when I
tasted it it tasted right. When I tasted it I was so jazzed, it
really was sauerkraut!!! It really was that easy!!!!
I unscrewed the
rings on these about 3 times a day for 4 days and then they stopped oozing, so
today I rinsed the jars off, rinsed the salt brine off the rings,
tasted the kraut and then screwed down the rings fairly tightly. So
far so good. The overflow liquid smelled right and today when I
tasted it it tasted right. When I tasted it I was so jazzed, it
really was sauerkraut!!! It really was that easy!!!!
Be careful unscrewing lids, this stuff really produces some gas! I spent some time cleaning up the spurt! I also put the exact date on my lids so I would know which was which, which was close to done and which to eat first.
OK, so this is the easiest way I've seen to do sauerkraut and I should try it as waaaay back in my genetics I have German, Austrian and Polish ancestors. Cheers, Robyn
ReplyDeleteGlad it worked for you, Kathy. There seem to be so many variations as regards how much salt to add that it does get confusing. As I said on my blog I have 3 tablespoons in that little bottle with one cut up head of sugarloaf cabbage. I will try your method next. It only took a week for yours to ferment so it must be hot there. I probably shouldn't be making mine in the middle of winter I guess.
ReplyDeleteActually Grandma says that cooler fermenting (slower) gives a milder kraut flavor, I am going to try to grow cabbage in the fall and make some in October to see how it does.
Deletemany thanks. found you at frank and fern.
ReplyDeletelooked at all the equipment 'necessary' for kraut making [$$$] and was delighted to find this method.
some how people make things so complicated it is discouraging.
making the karaut in the jars you store it in is a very good idea!!
Kathy - i found you from Frank and Fern, too! i make sauerkraut/sauerruben and other fermented veg just like this. i recently got a fermentation set from fermenttools.com and by using it there is no longer any need to unscrew the jars 3-4 times a day. i am glad to have found your blog and will now have to read through all of your posts!
ReplyDelete